The guide
Ask Benjamin.
ask Benjamin.

From Bench Stone to Finish
The challenges you're facing, and the way to the kasumi you want.
This page didn't start as a guide. It began with a single question someone sent me privately — I answered, another followed, and those answers slowly became the sections you're reading now. It's a for us, by us sort of place, built from your questions.
1. The Goal
-
Before the tools, the target.
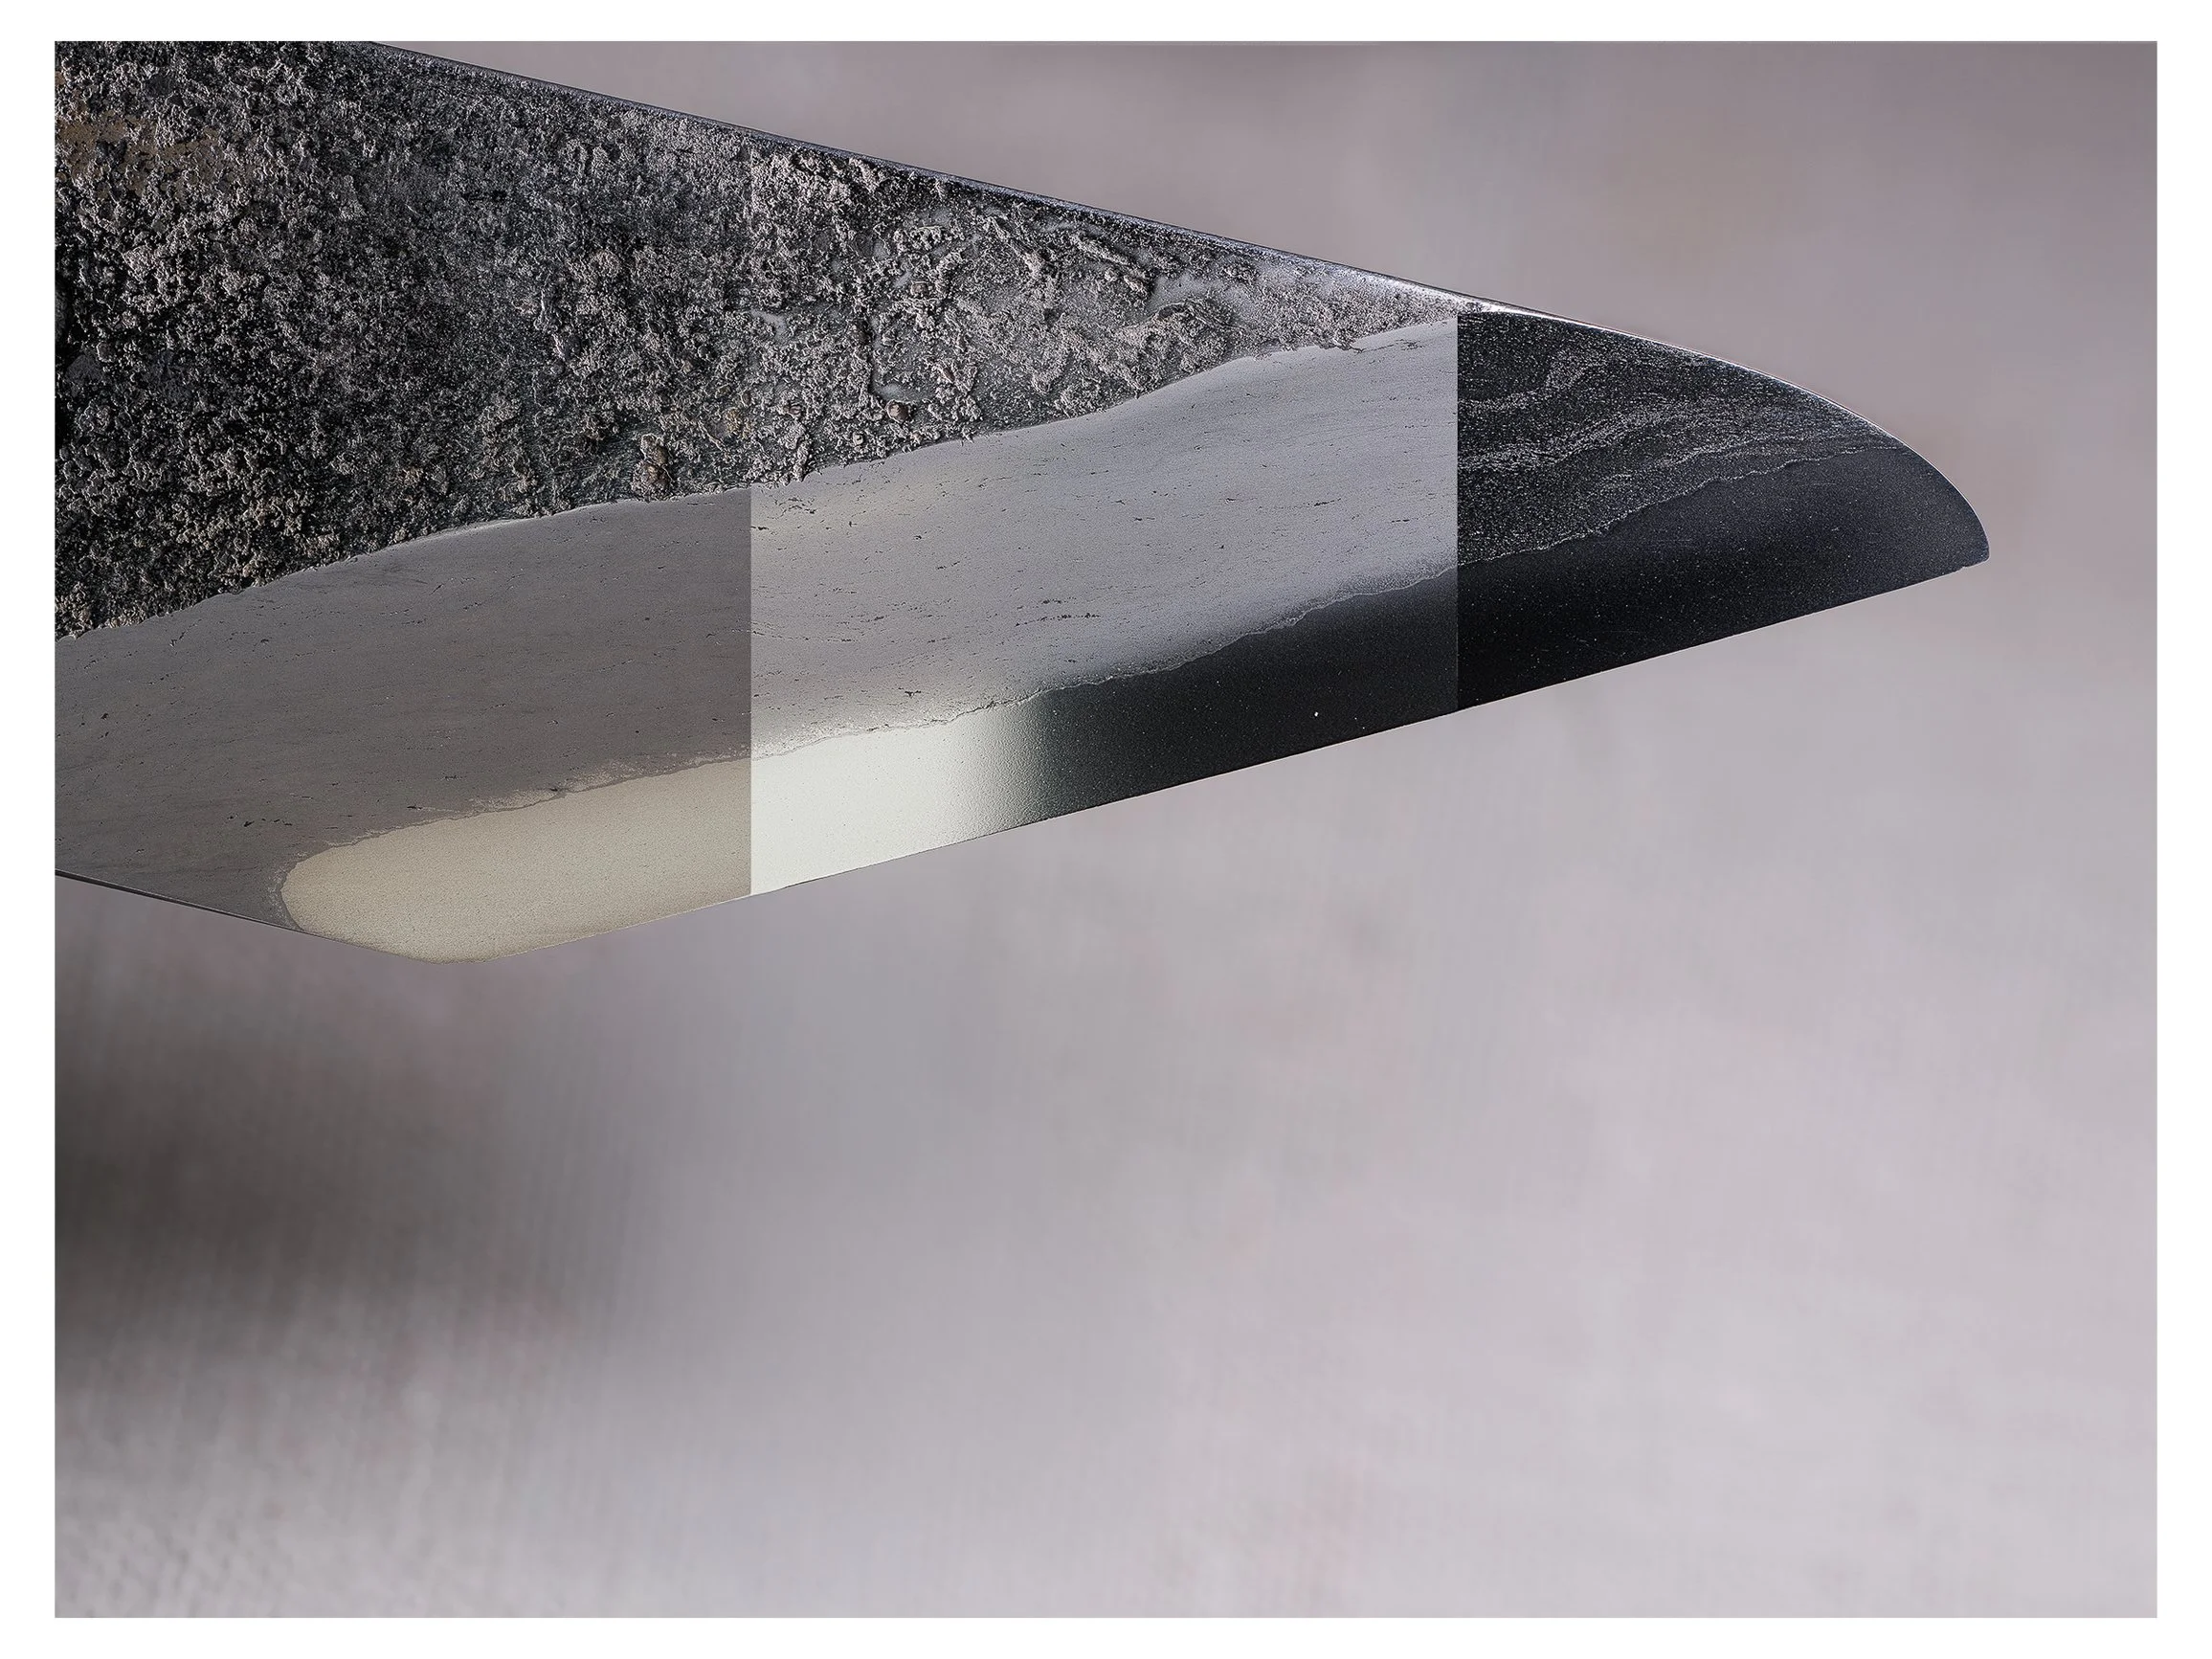
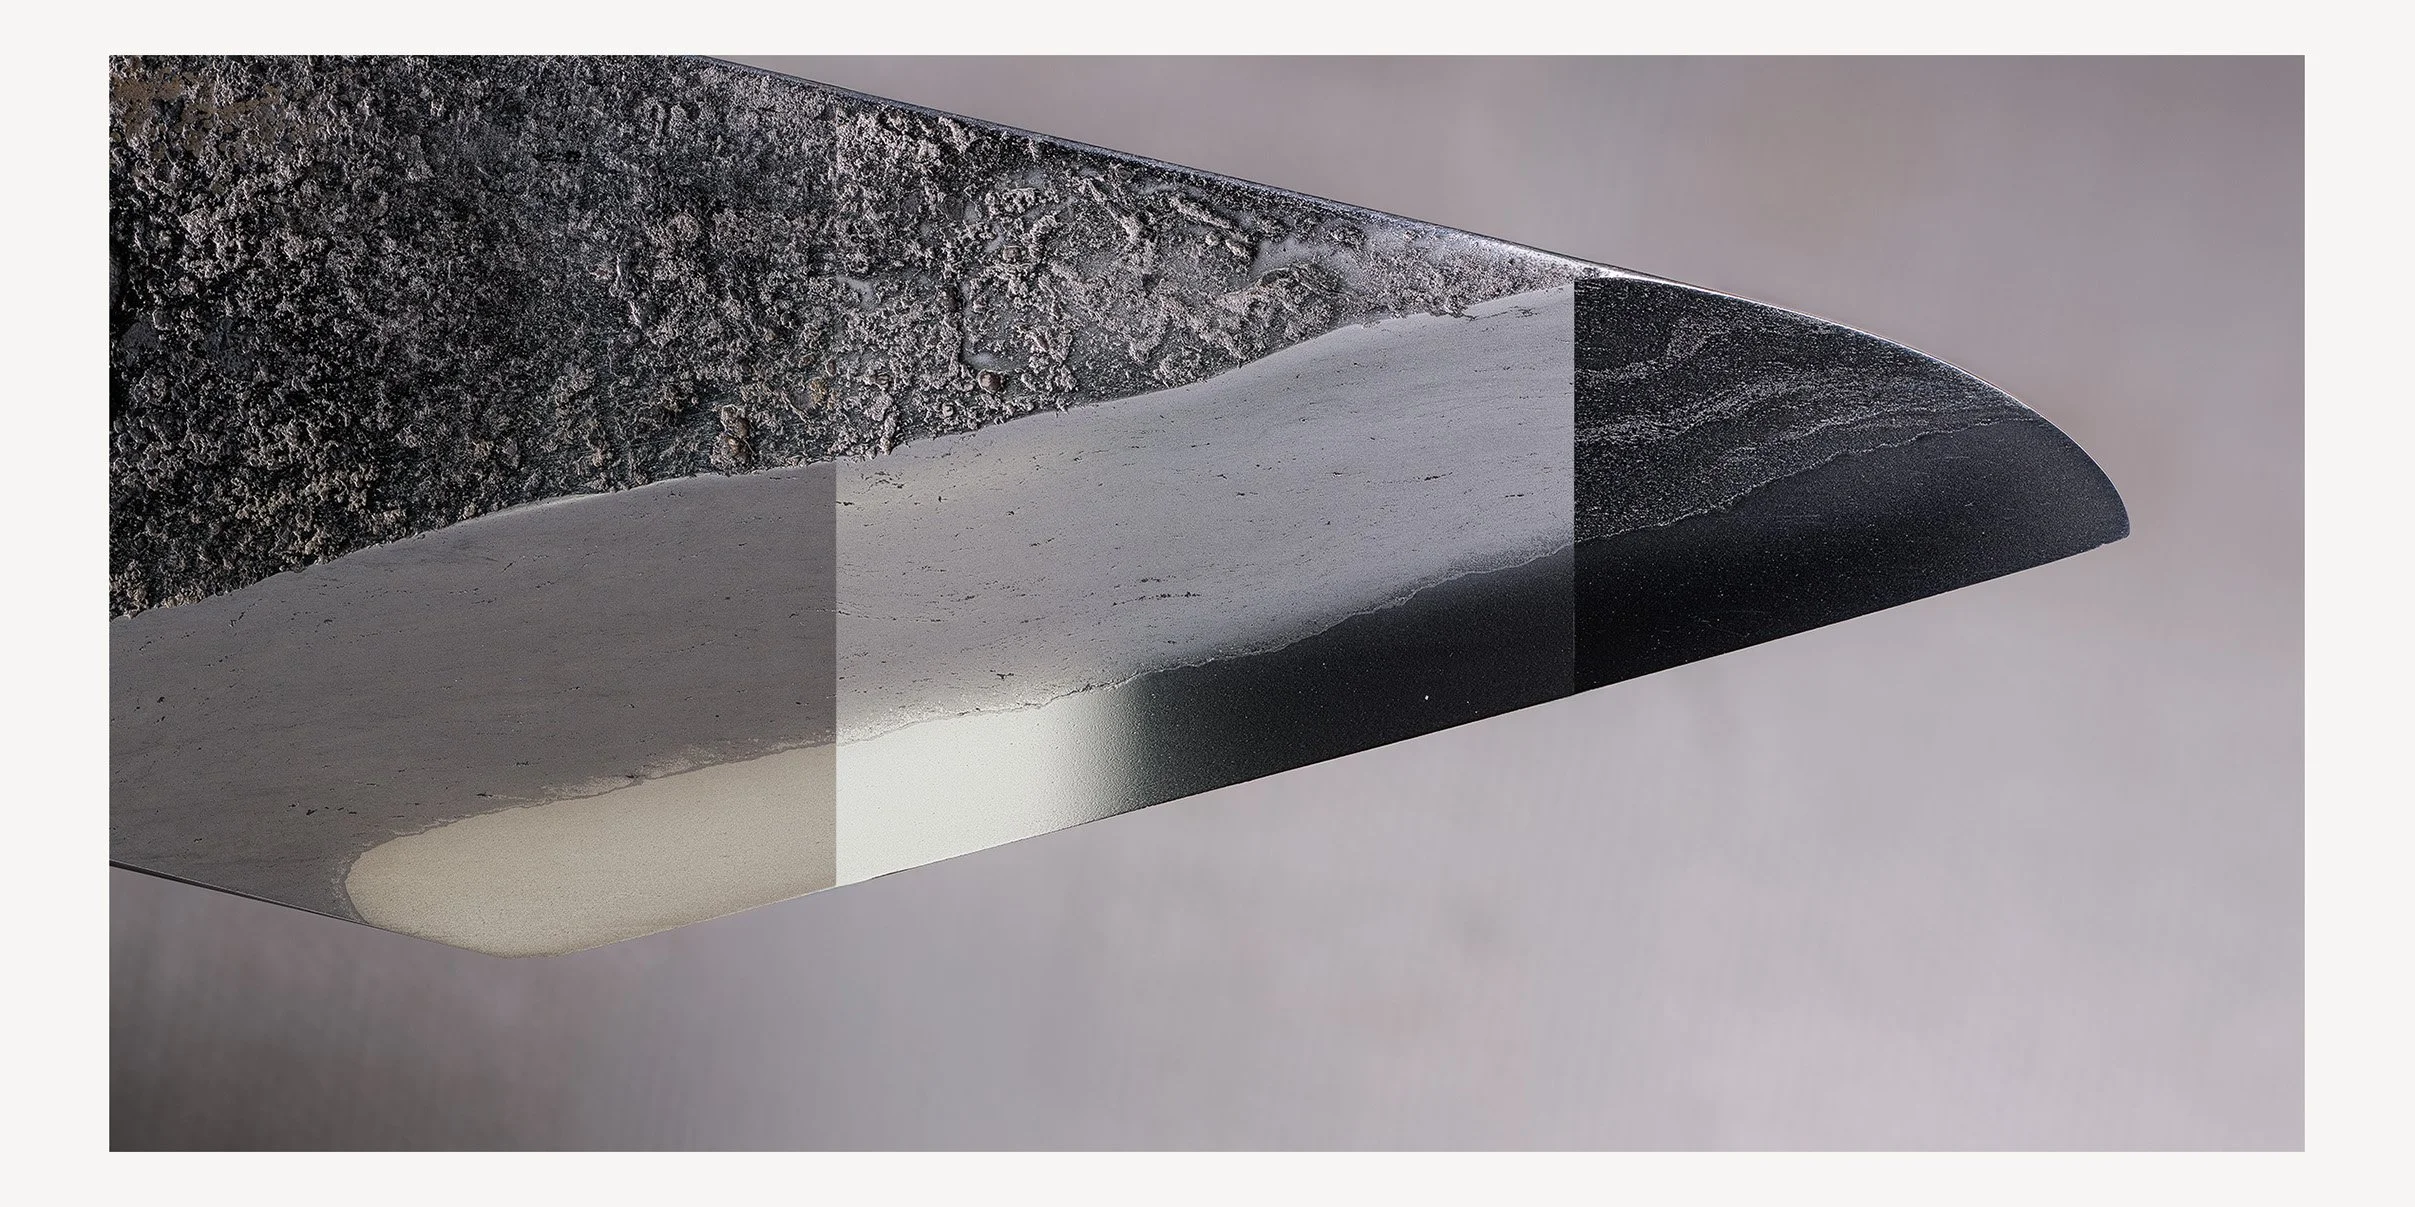
On a clad blade, the classic kasumi aims for a dark, reflective core, a more matte cladding full of quiet detail, and a clean line between the two. But that dark core is not the only goal — many of the most beautiful finishes sit calmer and hazier, with a gentle semi-mirror core rather than a sharp one. Both are valid; the sharpness of the contrast is a choice of character, and the calmer, hazier finishes are often the more forgiving place to begin — not a summit to climb toward.
On a honyaki, the picture is different: a bright hagane against a dark, vibrant jigane, with a clear hamon between them.
Same stones, different orders. The metal decides the sequence, and your eye decides the character. Everything below serves one of these pictures.
2. Bench Stones First — and Why Not Sandpaper

-
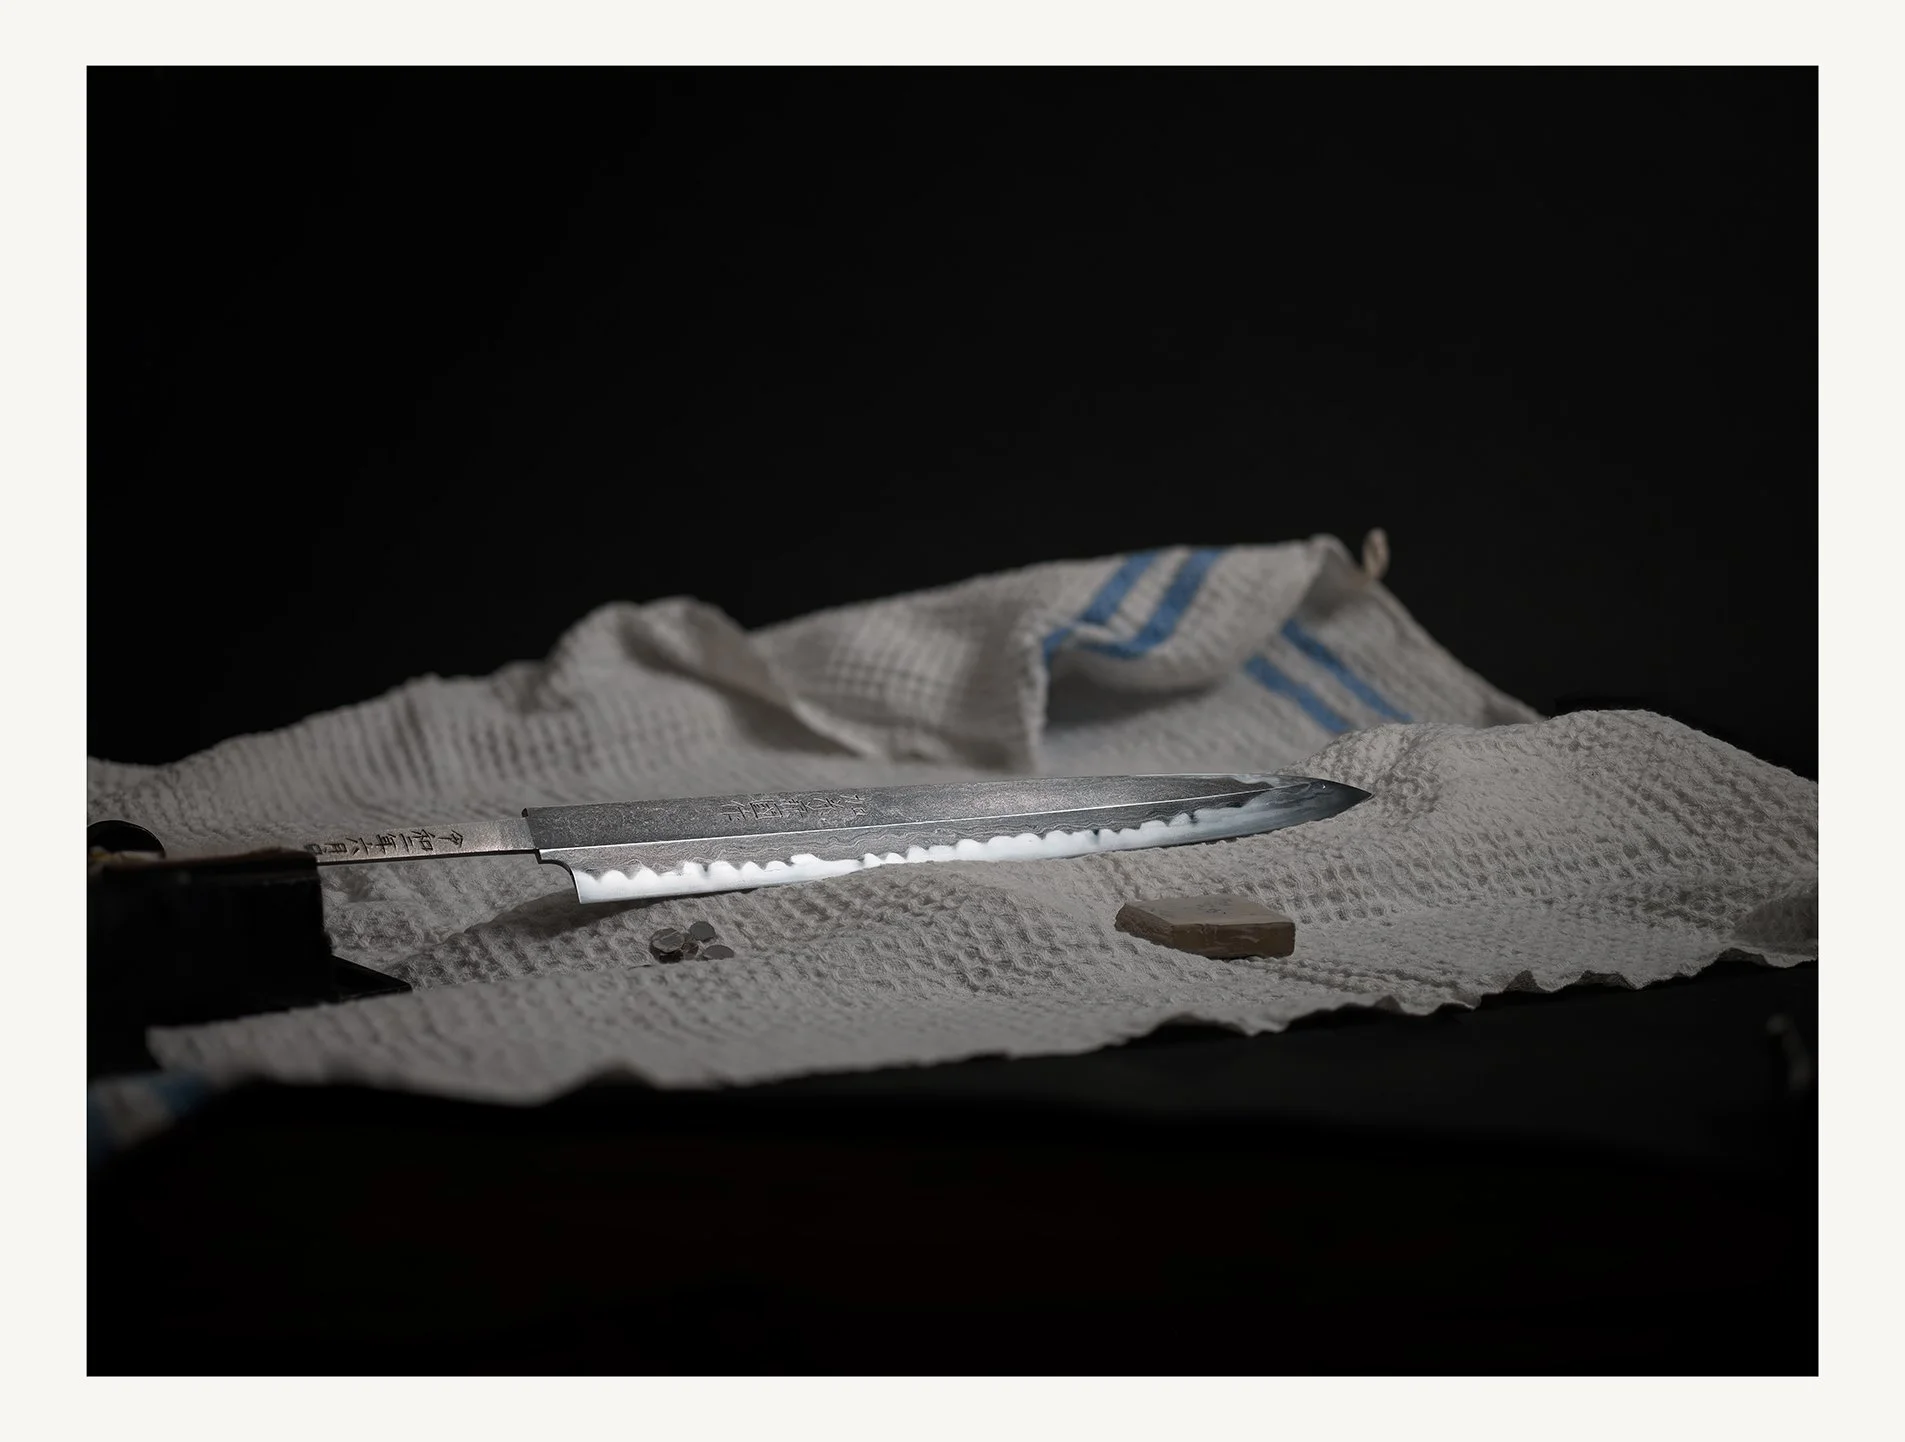
Everything begins with a bench-stone progression. The coarser natural stones remove the last scratches left by synthetic stones; each following stone refines the surface further. Two things are decided here and nowhere else: the finish on the core, and the sharpness of the line between core and cladding. Both are limited by your last bench stone — no finger stone will rescue them later.
A tip on soft stones: all uchigumori, and some other soft stones, benefit from 10–20 minutes in fresh water before use. Without it they dry quickly and the slurry breaks down mid-work. Hard stones never benefit from soaking.
Why not sandpaper? The scratch pattern from sandpaper is an arc — the radius of your forearm — and it stays in the surface as an arc no matter how fine you go. A bench stone leaves straight, parallel geometry. Sandpaper also spreads pressure less evenly than a solid, flat stone; it can dig hills and valleys that carry their own shadows. Two people can arrive at the same grit, and one of them has a surface that will never take a clean kasumi — and he has no idea why. He'll blame the finger stones. He'll blame the compound. He'll buy more things, and none of them will fix it. The geometry was lost three steps earlier.
There is one honest job for sandpaper — the spine and the heel. See chapter 7.
3. Reading the Surface — Core and Cladding
-
The core of a clad blade is a thin band. You set it where you want it — hazy, semi-mirror, or a scratch-free natural mirror — with your bench stones, and the line against the cladding stays sharp. From here on, it mostly stays as your bench stone left it: the finger-stone work that follows is cladding work.
The cladding is large by comparison, and every small difference in contrast will be visible across it. So the first ambition is evenness. Perfect is always good enough — and a perfectly even haze is worth more than a heap of micro-detail that looks uneven from across the room.
4. The Cladding Path
-
Begin with Haze, the softest, and let it lay a uniform, matte kasumi over the cladding. Refine with Clarity; the surface should already look clean.
Going finer can reveal scratches that were hiding in the haze. Pause here, and clean the surface with Zero until the blade looks completely scratch-free. Zero is fast and very fine; the surface becomes detailed and moves close to a semi-mirror. Most people skip this step. The result always shows it.
A final pass with a thin Depth stone lays an even, fine haze back over the cladding, lifts the texture of the iron, and leaves the whole surface clean.
Want more out of wrought iron? Detail will do it. Detail stones are harder and want care on soft iron: worked very thin, until they flex, and used with light pressure. If the result turns too harsh or too vivid for your taste, a light pass of Zero and Depth brings the finish back to your liking — the detail you gained stays visible underneath.
Where KREAM fits: KREAM Haze can refresh or even out a cladding in minutes, and KREAM Detail comes after fine finger stones, when you want the surface to give more. Both are in chapter 6.
5. The Honyaki Path
-
The target here: a bright hagane, a dark and vibrant jigane, a clear hamon.
First, a caution. A honyaki carries a large surface of very hard steel, so the work takes time — and even with endless time, the steel sets a hard limit on what it will allow.
Preparation matters differently here. A hard, fine bench stone on the hagane leaves it uneven and scratchy, and it will not contrast against the jigane. What you want is a softer stone with the right grain — one that breaks the light in every direction. On the jigane you can go finer, to bring out the activity, but carefully: a stone that is too hard burnishes the soft steel and makes it look harsh, so the blemishes show more than the life in the metal.
Then the progression. Haze first, for most of the time, over the whole blade; Clarity after, for an even surface. Then very thin Detail stones, to refine and draw more and more texture out of the jigane — the jigane takes harder and finer stones than wrought-iron cladding ever would, which is why Detail appears this early here.
Now the finish. Clean the jigane with Zero. The surface is unforgivingly large, and this step is essential — it opens the door to the finest activity. The moment your eyes can't find a scratch anywhere (bravo!), a thin Depth stone harmonizes the surface. A tip at this stage: KREAM Detail can join the work along the Zero passes, worked over the whole blade between them — see chapter 6 for how it's used.
The last step is Softest Haze, and it is what the whole order was building toward: the hard hagane reaches its brightest point, the hamon stands out, and everything sits against a darker, almost-glossy jigane. You can still adjust afterwards — Softest Haze on the hagane, Depth on the jigane — until the balance is yours.
One more honyaki tip: the hagane sometimes shows along the spine. It's a small, awkward spot for finger stones — KREAM Haze handles it easily.
6. KREAM — Haze and Detail
KREAM Haze

-
KREAM Haze develops a clean, uniform kasumi in minutes. It removes light rust, patina and small inconsistencies, which makes it a maintenance step between sessions, or a foundation before finer work — it is forgiving of a preparation that was a little rushed.
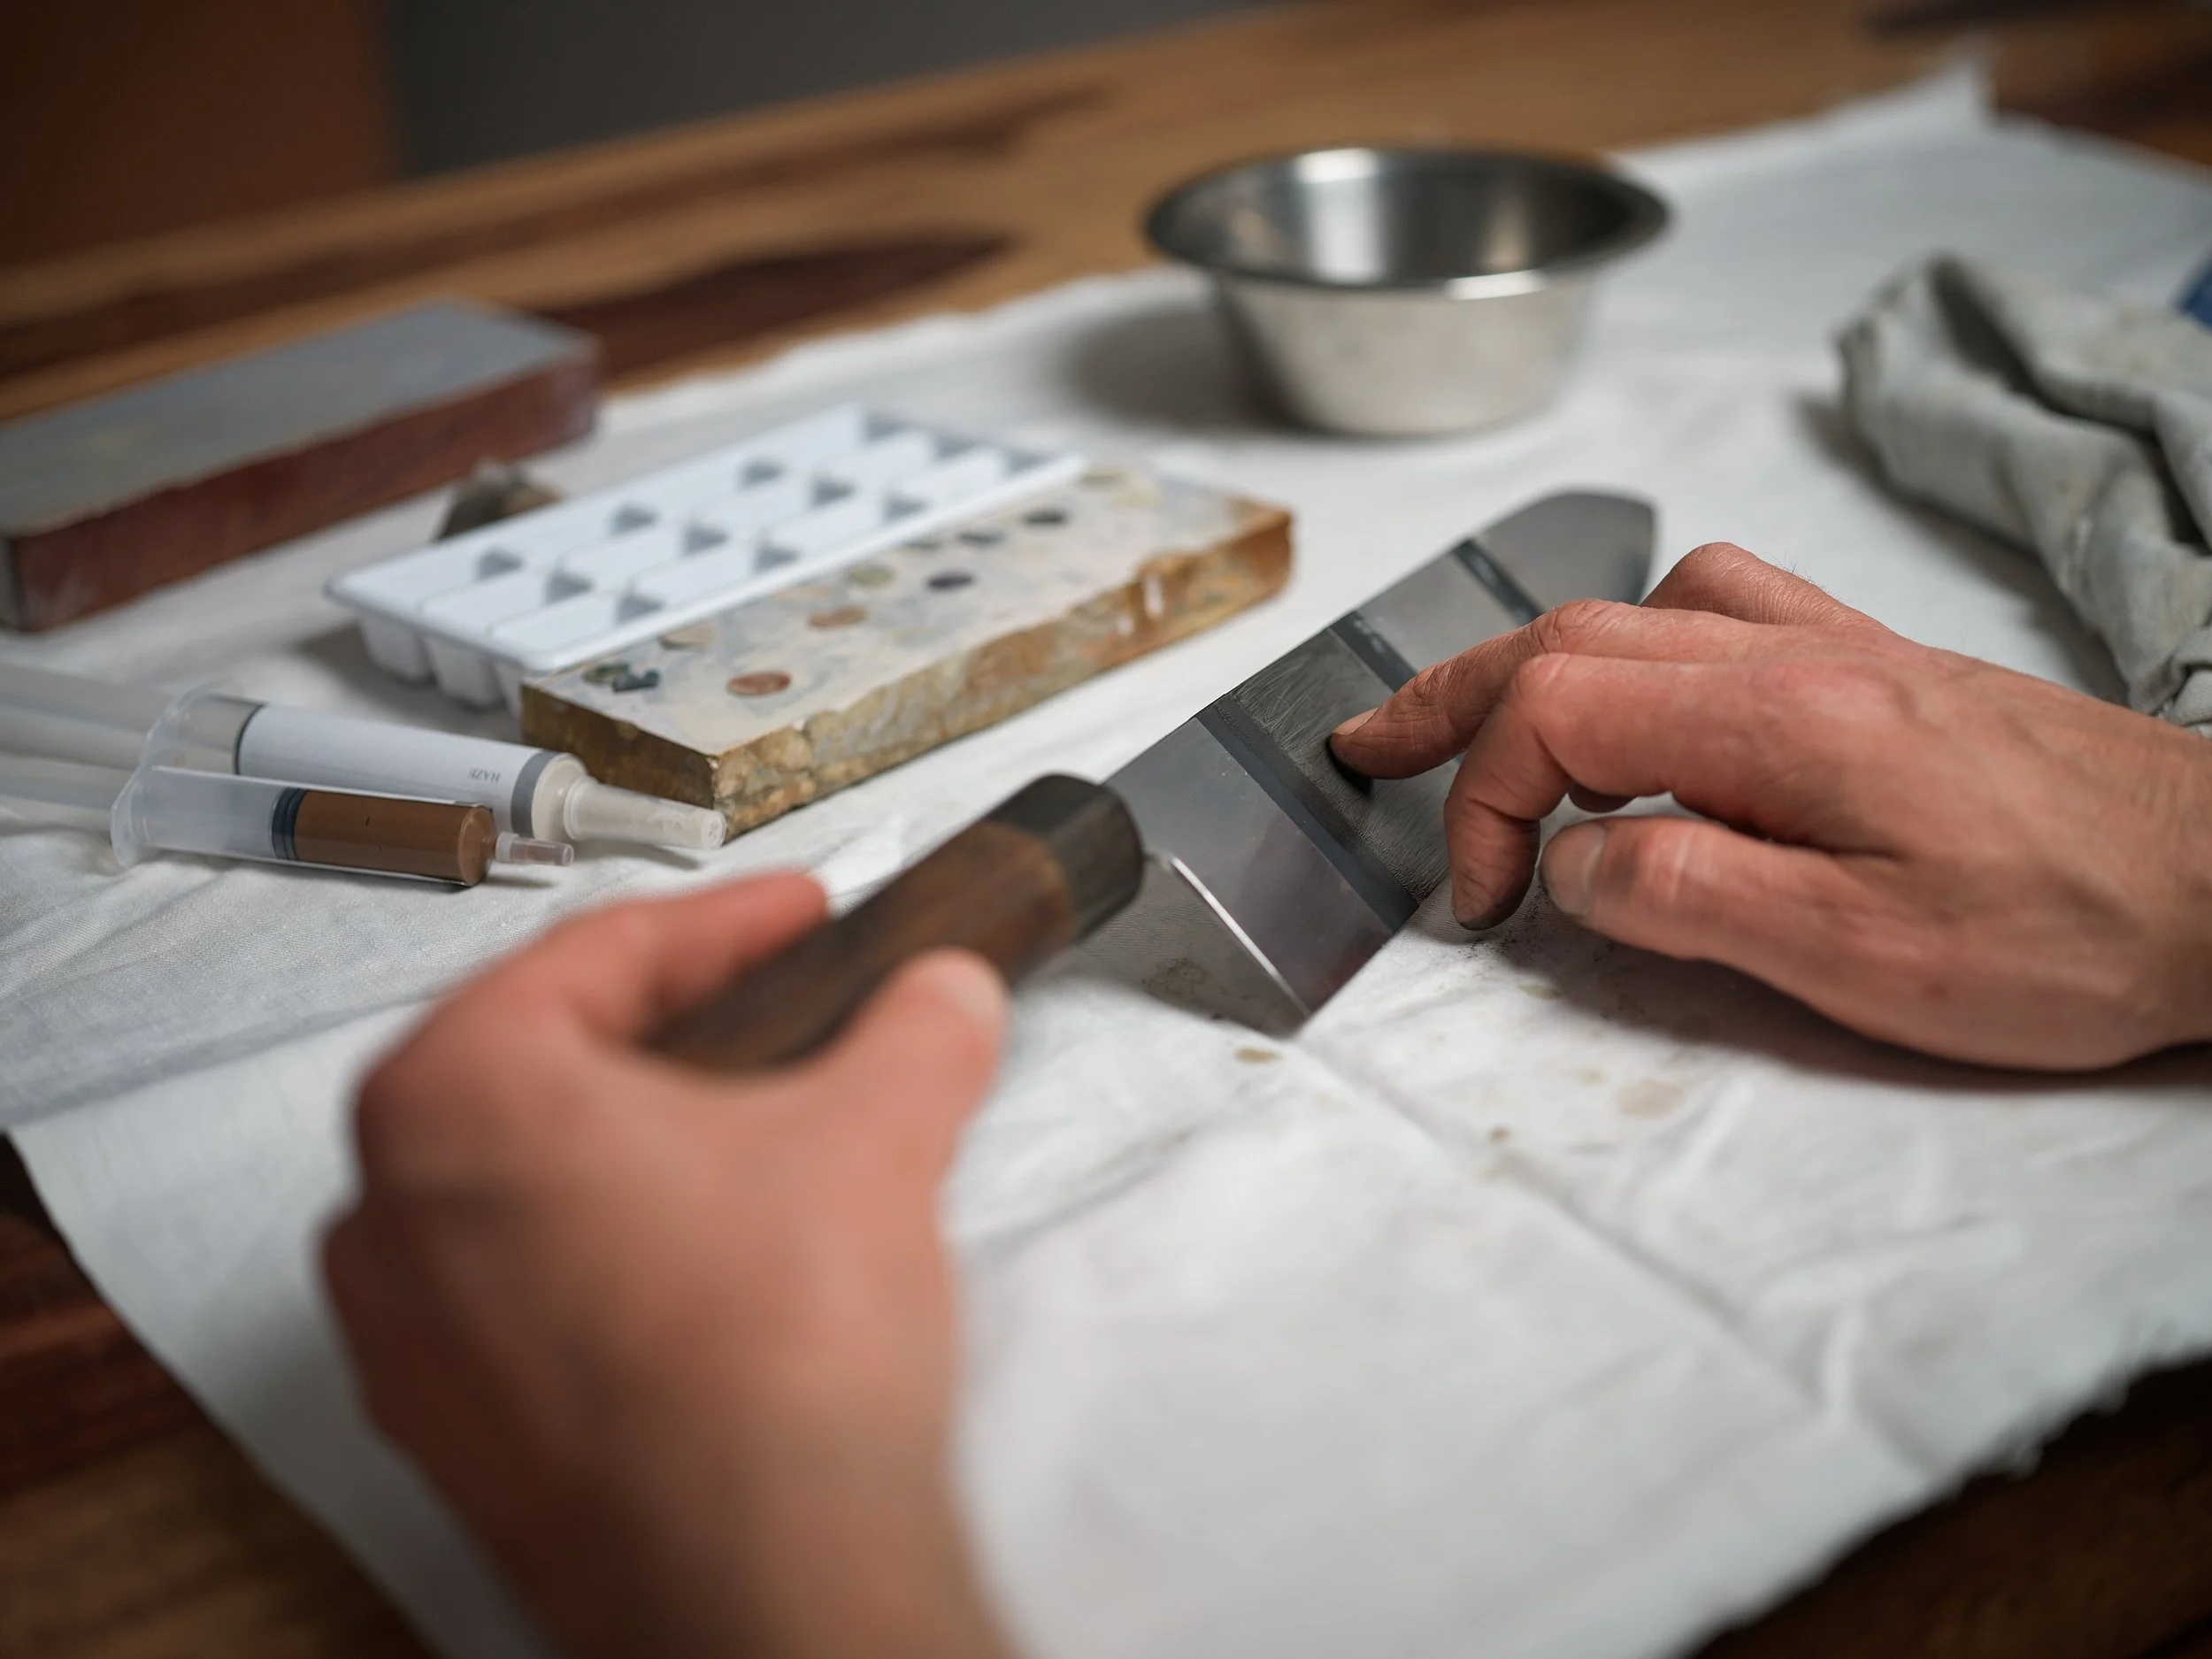
My goal when developing it was to come close to what finger stones do: not identical, but a similar haze, laid down with nothing more than a fingertip. Apply in small amounts and work until the surface turns matte. For a more matte result, a worn finger stone can serve as the applicator, at the cost of some control. Anything abrasive as an applicator will put scratches in — don't.

KREAM Detail

-
KREAM Detail rewards patience. It is slower than Haze, and it wants a single drop of oil worked in with time and pressure. That one drop is the key, and it is enough. Skip the oil or rush it, and you get a milky look; give it the time, and the surface moves toward mirror while the details come up step by step — until it's spitting detail back at you like aluminium foil. For more shine, finish with a cotton pad and one more small drop of oil; any food-grade oil works. The formula is fat-based and doesn't evaporate, so the blade stays protected through a long session. When you're done, wash with warm-to-hot water, a sponge and dish soap — after that, the surface is smooth enough that oxidation isn't a worry.
One note on that smoothness: because KREAM Detail leaves the surface very smooth, contrast can soften a little. An almost worn-out fine finger stone brings it back beautifully — and even if you go a bit far with that step, the detail KREAM added stays visible. So you can work freely. This alternation — KREAM, then a nearly spent fine stone, and back — is the most rewarding routine in the range for those willing to work with it.

7. Technique Notes and Edge Case
Where to test. Depending on the geometry, the tip, the area around the first third, and the part just before the heel are where a polish tends to look its best. For trying a stone or a step, use the tip — it's the easiest area to polish again and again.
Will the stone leave a sharp edge? Yes. Even the coarsest stone you can find at retif-tools.com will leave a blade sharp enough for any food-cutting skill. Sharpness and finish are two different things — a coarser stone leaves a rougher look, but the edge itself is keen. The exceptions are razors, high-end tools, and work on the ura of a single-bevel knife. There, the finish of the surface is the keenness of the edge, so a finer stone is needed — a core mirror of at least 2.5 is advised. It's the same reason a razor is stropped to a mirror: at the very finest edges, the polish and the sharpness are one thing.
What slurry is — and what its color tells you. Short and without folklore: slurry is a mix of three things - stone particles, iron from the blade, and water. That's all. The color you see is the ratio between the first two, and here's the part the folklore skips: your blade writes half of it.
Watch the same stone meet two blades.
Left: iron-clad carbon. Right: mono stainless steel. Same stone, same angle, same light. The clad blade turned the slurry dark in 30 seconds — the soft iron gives itself up fast. The mono blade got 3 minutes, sped up here so you don't have to live through them, and never caught up. Time can't buy what the iron donates instantly. So when you see dark slurry in someone's photo, you're looking at the blade as much as the stone.
Stones do differ in what they release.


Left column: three slurries, beige to near-black, a clean staircase.
Right column: the finishes ignore it - the beige-slurry stone darkens the cladding and brightens the core; the grey-slurry stone does the exact opposite; the darkest slurry keeps that cladding and deepens the core further. No rule connects the columns. The mud has an order; the stones have characters, and the finish answers to the stone, not the mud.
One more piece of folklore, corrected under a microscope
-
— not mine, scienceofsharp's: the "breakdown" everyone feels is real as a sensation, but the abrasive particles don't get finer with use. What breaks down is the clay binder, into soft flakes that work like a lubricant. The particles keep their size; their landing gets softer. That's why a worked slurry finishes finer — the mix ages, not the grit.
What I take from all of it: the stone works because it holds its abrasive. The slurry belongs to the polisher — it steers the work, it talks to your fingers, and it has its pleasures: a beige slurry often feels like béchamel under the hand. But it has limited importance in my listings, because it has limited importance in my use: for a job, I never grab a stone because of its slurry. The finish decides. The numbers check it. The mud just keeps you company while you work.
Bind your slurry. Keeping a slurry is like cooking a sauce. See the mud as the starch or as flour in a béchamel — it gives the body. A drying stone is a sauce that reduced too far. But slurry doesn't burn: a drop of water from time to time keeps it fresh. And when you need more starch — use a nagura.
Sealing a stone. A sealed stone keeps its water in and the knocks out — but it will not survive the floor.
Sealing does three jobs.
-
The first is the one everyone expects: protection. A coat of lacquer takes the knocks of rough use — the small collisions of a working bench that an unsealed stone collects as chips and hairlines.
The second is worth more, and less talked about: sealing keeps the water in. A stone always dries from its edges first — watch a wet one dry: the rim lightens while the middle still holds dark. Unsealed, it drinks through every face and loses it the same way, drying from the outside in while you work the top. Sealed, it holds what it drank — the stone acts like a tank, feeding the surface while you work.
The third is the quietest: a sealed stone holds itself together. The lacquer wraps the stone the way soft cladding wraps a hard edge, or the wood wraps a pencil's lead — a little give around something brittle. Natural stones can carry lines you'll never see, and they open where the drying swings hardest: at the edges. Sealed, the water leaves slowly and evenly, and the lines stay asleep. The jacket doesn't make the stone stronger — it keeps small weaknesses from becoming breaks.
Here is what sealing will not do: save a stone from the floor. The stone in this photo was sealed, and it fell from about a meter, and the lacquer changed nothing. Sealing is insurance against working life, not against gravity.
How much the tank matters depends on how much your stone drinks — and you can measure that with a kitchen scale. Weigh the stone dry. Soak it ten minutes. Weigh it again: the grams it gained are the tank. A soft uchigumori will surprise you; a hard, dense finisher barely moves the number. The bigger the drink, the more sealing gives back — which is why the soft stones want it most, and a glassy hard stone can live its whole life bare. In my own drawers it works out to about a quarter of the stones wearing a seal.
The seal goes on the bottom and the edges — the faces the stone dries from. The working face stays bare; that's where the water and the work belong.
On coats: the first one finishes the tank — waterproof is waterproof, and more lacquer adds nothing to it. Every coat after that is armor. A stone that lives a rough bench life can carry two or three; a stone that lives quietly needs only the one.
As for what to use: any water-resistant lacquer. Pick one; don't overthink it.
And don't worry about the lacquer meeting your blade. In a real sharpening or polishing session, the two hardly ever touch — the blade lives on the working face, the lacquer lives everywhere else. And when they do touch? I can answer from long experience, because my finger stones are lacquered the same way, and once a finger stone wears down in places, the lacquer sits in direct contact with the steel — stroke after stroke. Nothing happens. The lacquer's surface is always less abrasive than the stone itself: your blade is meeting something softer than the work it came to do.
And the bonus nobody admits: a lacquered stone looks good.
Make any (small) stone perform like a better one.
A small stone isn't a compromise.
-
Glue it to enough mass, and it behaves like a full bench stone — because most of what a big stone gives you is stability, not size.
A koppa on a bare bench rocks, shifts, and bounces under the blade, and every bit of that movement is movement you're not controlling. Fix it to a heavy, flat base and the movement disappears: the mass kills the bounce, holds everything dead flat, and — because the weight sits low — drops the centre of gravity, so the whole thing stays planted and steady under the blade. Suddenly the small stone reads the geometry as cleanly as a large one, because your hand is doing the work, not fighting the stone.
And this isn't only for small stones — any stone is optimized by being fixed to a hard, flat, solid base. Even a large stone sits steadier, stays flatter, and reads truer when it's mounted rather than loose on the bench. Mounting is simply good practice; it just happens to be what turns a small stone into a capable one.
Weight is the thing, so choose the heaviest base you reasonably can. A thick stainless steel plate is ideal — 20 × 10 × 1.5 cm comes to roughly 2.4 kg, costs about $10, sits dead flat, and won't rust. Always take a heavy material over a light one: a dense base beats wood every time, because wood is too light to lower the centre of gravity the way steel or stone does. That said, anything heavy and flat will help — a spare tile or a piece of concrete from the basement is free, and far better than nothing. ;-)
And if in doubt, go smaller, not bigger.
Most people assume a bigger stone is a better stone.
-
It usually isn't. A stone only needs to be about 15 × 5 cm to polish any knife — even a 40 cm blade — and mounted on enough mass, a smaller one will do the same. Bigger than you need buys you nothing, and past a point it works against you: a stone much larger than the diamond plate you flatten it on becomes almost impossible to keep flat. The plate is the limit — a little larger than the plate is fine, much larger is not. A 12 × 25 cm stone, for instance, is nearly impossible to bring perfectly flat. So a good small stone on a heavy base beats a large one you can never get properly flat — every time. Better a little too small than too big.
In fact, two or three well-chosen stones on the smaller side will nearly always serve you better than one giant — more finishes to reach for, each one easy to keep flat, and each optimized on its own base. A small, considered collection beats a single large stone, at less cost and less trouble.
Glue the stone down with a thin layer of epoxy — not a thick mass, which cures hot and can stress the stone — check it sits true, and work as you would on any bench stone.
The practical upshot: a small stone on a plate lets you keep and use stones that would otherwise be too small to bother with, at a fraction of the price of a large one — and, thinned to a paper edge, the smallest offcuts become finger stones. Very little of a good stone need go to waste.
And this is worth more than convenience. A stone that doesn't move is where strong geometry begins — because every bit of movement in the stone is attention taken away from the blade. Steady the stone, and the geometry has somewhere solid to start from.
Direction. Above #1000 grit, everything is done strictly parallel to the length of the blade; a kasumi always reads cleaner that way. One exception: the kissaki of a sakimaru — as on swords — is polished strictly perpendicular ↓
Thickness. Finger stones want to be almost paper-thin for surface work: a thick stone can scratch where a thin one forgives. Mine come at about 1 mm — perfect for geometry, when you want a finger stone to behave like a small bench stone. Thinning the last bit takes thirty seconds or less on a fine stone; the more water, the faster it goes — and while you're at it, you tailor each stone to the shape of your own finger. Before committing to a large surface, test at the tip.
Can't I make finger stones from a bench stone? Even with the finest machine cutting — the flattening losses, the plates that crack, the grinding to thickness — 94% of the original stone is gone before a finger stone is finished, on a good day. Start instead with a hammer and chisel, and even on a perfect day, the waste passes 99%. →

The spine and the heel. Both are small surfaces where a bench stone simply can't work — this is sandpaper's one honest job. For a harmonious scratch pattern, start from the heel and travel slowly, one way, toward the tip. For more control — and to keep the scratches on the heel rather than straying onto the jigane — wrap the sandpaper around something hard: a pen, or the shaft of a screwdriver. →
The best parts of this page came from someone asking. So if you're wrestling with something, or just want to share what you're working on, send it my way — your question might be the next section here.
So — thank you. This page is as much yours as mine.
Every effect on this site is photographed the same way: the same blade, the same angle, the same light. When two surfaces look different in these images, the difference comes from the tools.